DropBox is an application that provides various levels of storage in the '
cloud' so-to-speak. In other words, if you choose to add this application, you can store files away from your computer on a storage device that will allow you and, optionally others, to access that storage space and its contents
regardless of operating system!
Step 1.) Sign up here.
Step 2.) Assuming you decide to try it, click the
Download Button. Next, you'll be asked whether or not you're a new user:

Click the
New to Dropbox radio button.
Step 3.) Choose the download that's appropriate for your version of Ubuntu by clicking and saving the file to your desktop:

 Step 4.)
 Double-click the downloaded DropBox installation file. It will begin the installation of the DropBox client.
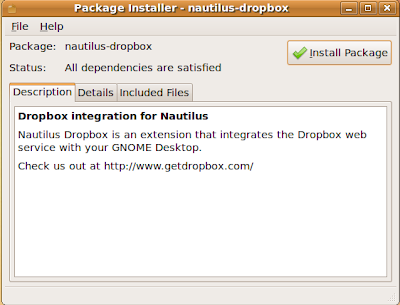
Click the
Install button.
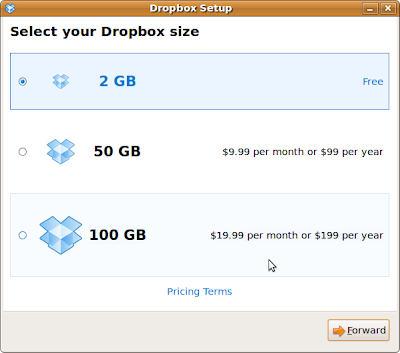
Step 5.) Next you'll be asked to choose a service option. For our example, we're choosing the free storage option. Make your choice and click the
Forward button.
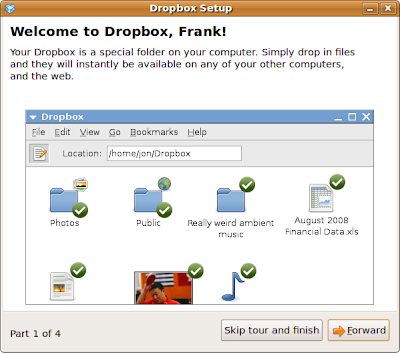
Step 6.) The installation will continue with a 'tour of features. You can forward through this or skip the tour and finish. Once you are finished the DropBox application is installed.
 Step 7.)
 Let's fire it up! On the
Main Menu panel, click the
Applications menu, then click the
Internet sub menu item.
DropBox will appear as an application there.
Click on it. You'll be asked where to put your locally accessible Dropbox folder and in our example we simply defaulted to the suggested destination. Once established this application simply activates an internet connection for the DropBox and an icon appears on the Main Menu panel tha allows you to modify the DropBox settings (out of the scope of this discussion).
Nota Bene: You'll also be asked to agree to terms of service and to map your account to an email address. None of this is covered here because it is vendor discretionary stuff and thus more volatile than these basics.
Once formalized, the directory appears as such:
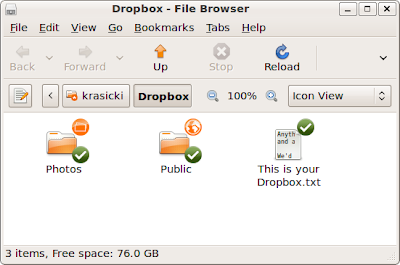
On computers that will share this directory the same procedure of downloading a DropBox client must be followed. This will allow you and your cohorts to use a common repository for notes and documents useful in collaboration environments.
Files can be accessed by logging in to DropBox here.
In future posts we'll explore this more.


